Difference between revisions of "DEV/Setting up Gerrit"
(→Log into Gerrit. Gerrit URL changed) |
|||
| Line 32: | Line 32: | ||
=== Set ssh key === | === Set ssh key === | ||
| + | |||
| + | [https://help.github.com/articles/generating-ssh-keys/#platform-windows Instructions for getting git and generating an ssh key on Windows] | ||
When the 'Settings' screen comes up select 'SSH Settings' in the left hand nav: | When the 'Settings' screen comes up select 'SSH Settings' in the left hand nav: | ||
Revision as of 16:59, 13 January 2016
Contents
Introducing Gerrit
Gerrit is the code review mechanism. All code pushed is first verified and reviewed before it is merged.
Registering your ssh key with Gerrit
In order to use ssh git urls for interacting with gerrit you will need to register your ssh public key with gerrit.
Log into Gerrit
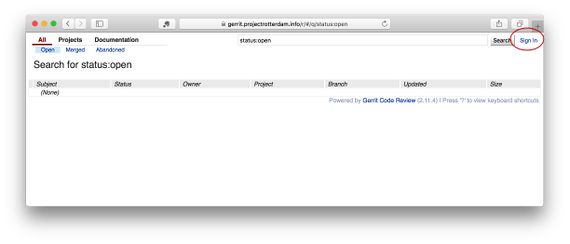
Go to [1]
You will see an screen like:
Click 'Login' in the upper right hand corner.
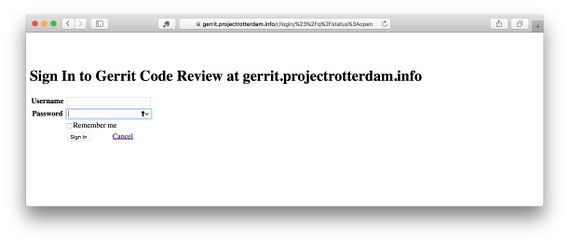
Sign in with your LF username and password:
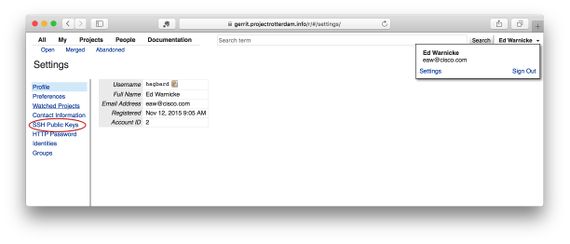
Go to Settings
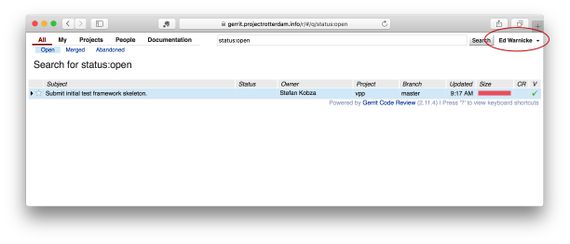
Click on your name in the upper right hand corner:
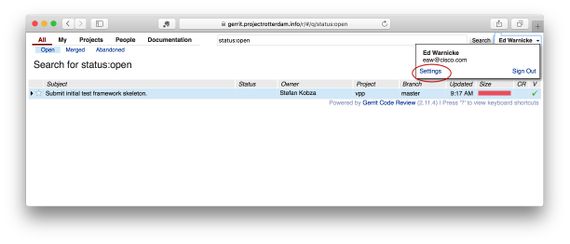
Select 'Settings'
Set ssh key
Instructions for getting git and generating an ssh key on Windows
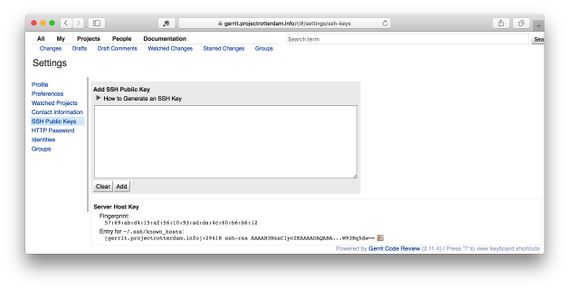
When the 'Settings' screen comes up select 'SSH Settings' in the left hand nav:
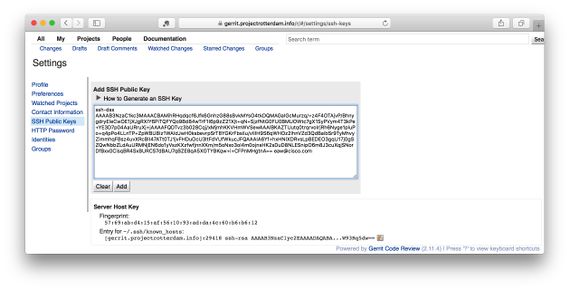
Fill in your ssh public key (there are lots of helpful instructions on this screen for generating a key if you need it, and where to find your public key):
Once you've filled it out it should look something like this:
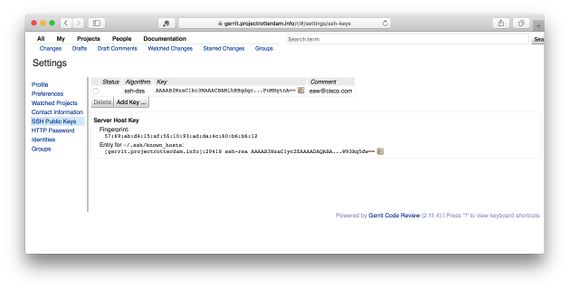
And once you've submitted it it should look something like this:
